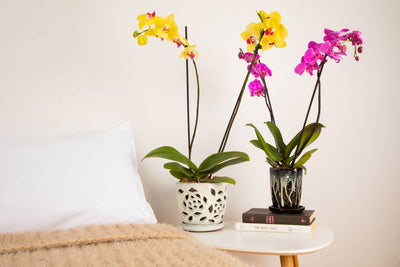
Orchids
 Succulents
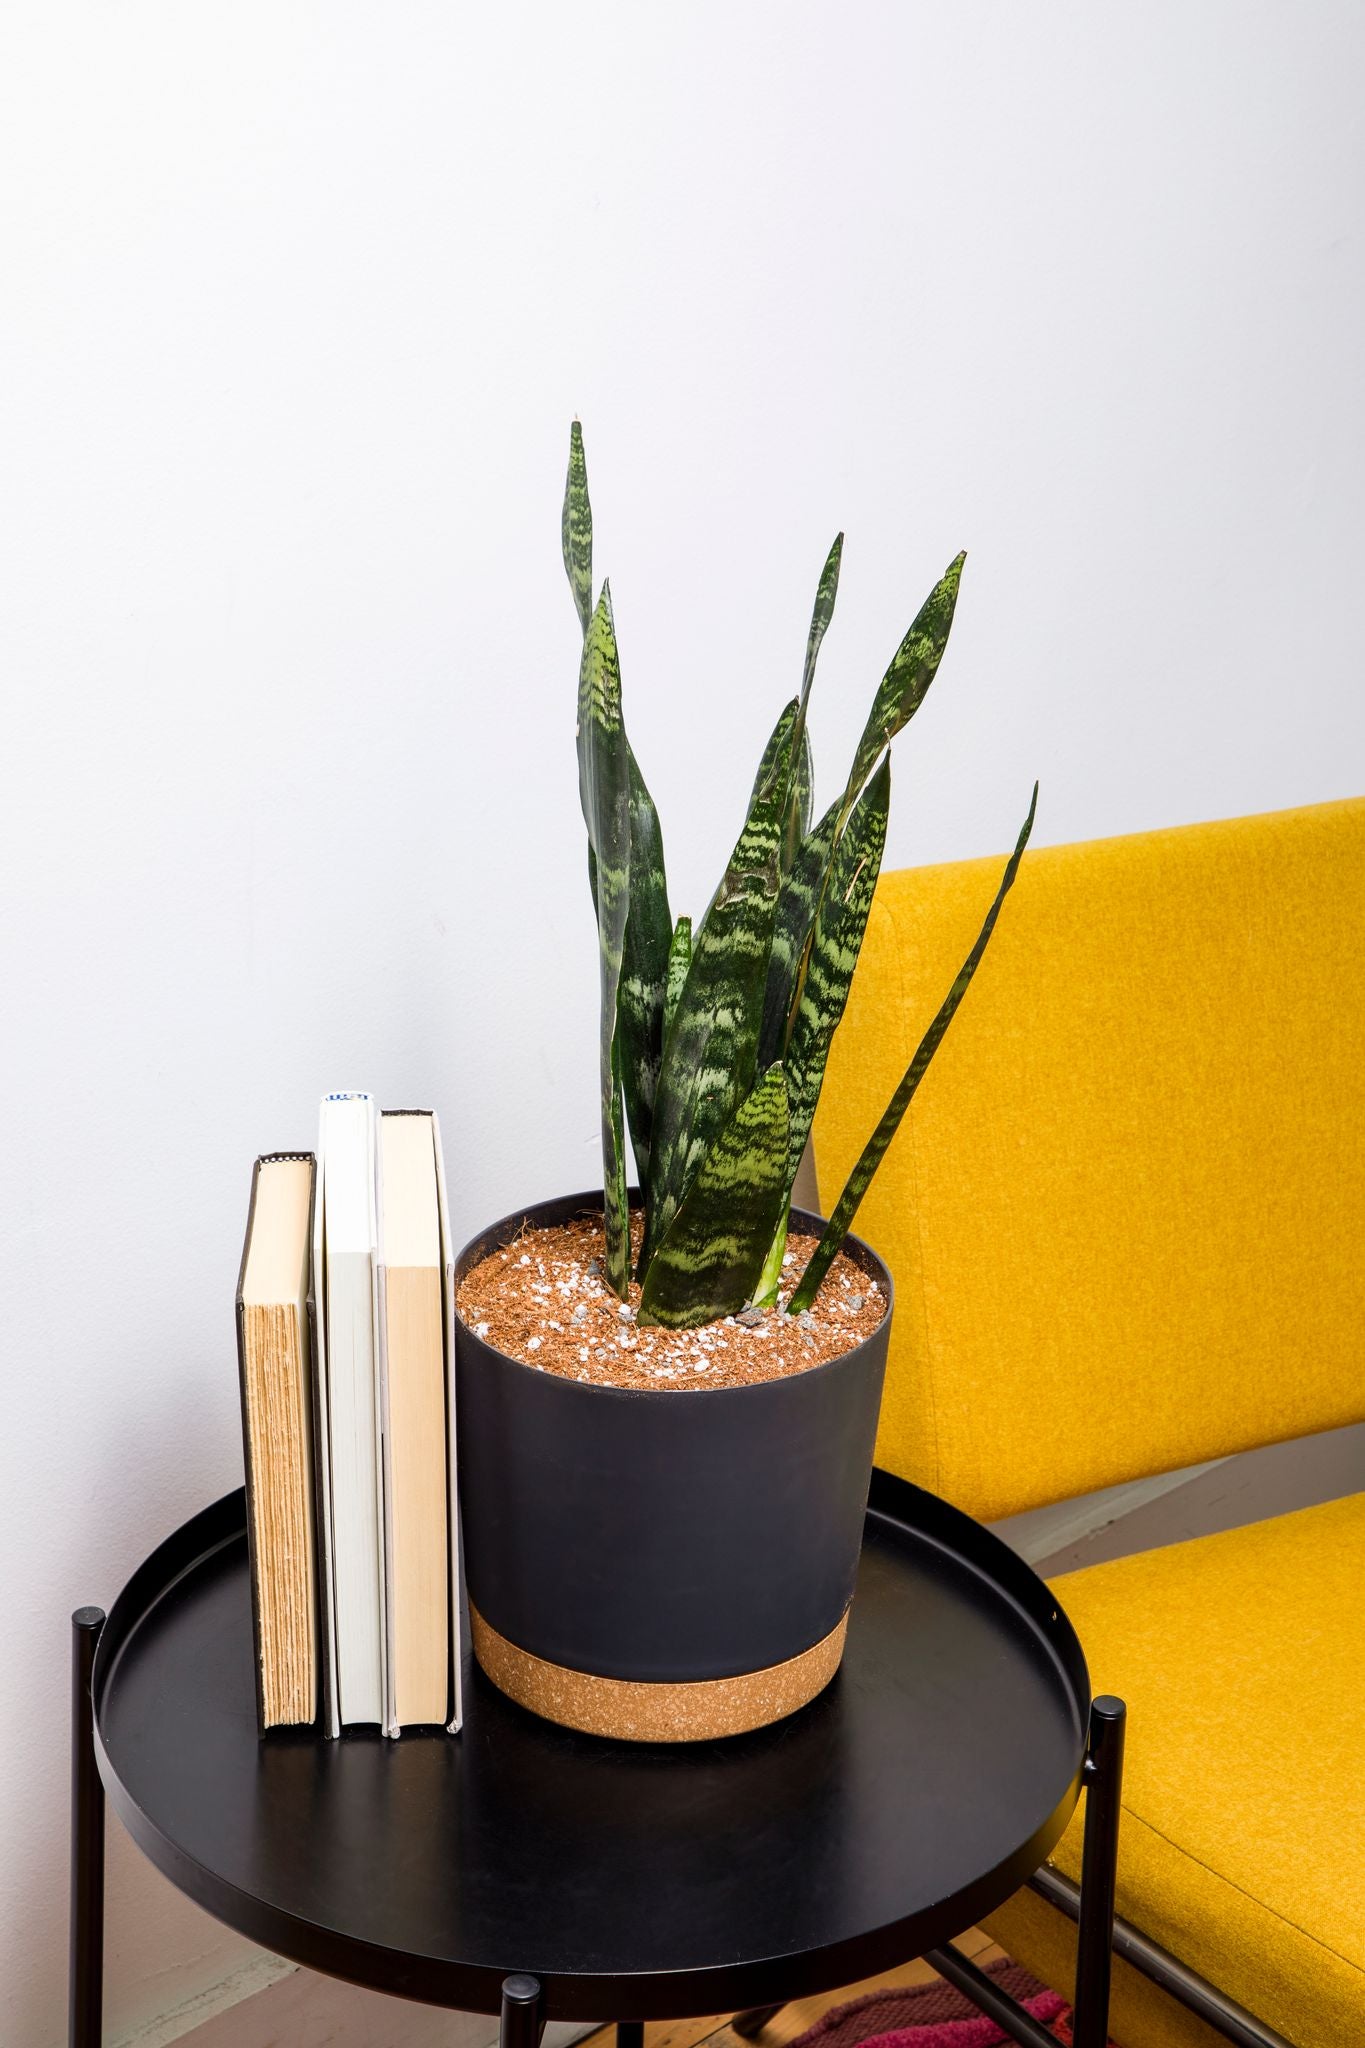
 Houseplants
 Care
Care


African Violet - Propagation by Leaf
Grow an African Violet From a Leaf
In this tutorial we will be going over how to propagate (create new) African Violets from the healthy leaves currently growing on your plant. If you follow along with this tutorial, you should see one or more baby African Violets growing from your leaf within the first three months!
First, we need a leaf
Pick the healthiest looking leaf you can from your plant. For best results, try to use a leaf that isn’t too young or old. Just a healthy “adult” leaf is what we are going for here.
Next, we need a scalpel
Use a scalpel to cut the leaf stem down to roughly 3/4 of an inch in length. When you make this cut, do so at a slight angle, leaving the stem at a point on one side. After cutting the stem of the leaf, let’s turn our attention to the leaf itself.
Take your scalpel and make a clean slice roughly 75% of the way up from the stem of the leaf. We want to cut away the upper most portion of the leaf to promote a quicker propagation process.
So far, so good
Alright, so let’s check how we’ve done. At this point in the tutorial you should have a healthy adult leaf with incisions made to both its stem and upper most portion of the leaf. If this is the case, continue on with the tutorial below. If not, make sure you have followed the steps outlines above.
Now, let’s take our new mix and fill our pot with it. When filling the pot, make sure not to compact the mix too tightly. We don’t want to smother the plant or the new root system that will form. Now that we have filled the pot with mix, gently push the bottom most part of the stem into the mix. Try to position your African Violet in the center of the pot during this phase. At this point, your African Violet should be in its new pot and all leaves should be above the mix.
Finding a home for our newest addition
Now it’s time for us to prepare the pot and mix that the leaf will be going into. Set the leaf we are using for this propagation aside for a moment. We need a small pot, and mix that promotes propagation. A Propagation Mix (60% Vermiculite, 20% Perlite, 20% Peat) is a great choice and can be custom blended by us if you don’t already have these ingredients on hand.
As for the pot, you have a couple of choices. For a non-miniature African Violets, a 3 oz. cup with a drainage hole cut out of the bottom works fine. When cutting drainage holes remember to keep them relatively small (around the size of the bottom of your standard ballpoint pen). If you cut your drainage holes too wide, you run the risk of soil been lost as it funnels out the bottom of your pot. As for the pot itself, if you want to go a fancier route, we have an excellent pot for you here. For miniature African violets, our 1.5 inch plastic pot works well.
Now that we have our mix and our pot ready, lightly moisten the mix and fill the pot. Your African Violet leaf should still be waiting patiently on the side at this point. Now, stick the leaf (stem side down) into the mix, positioning the leaf directly in the center of the pot. It is important to make sure to keep the leaf itself is above the mix with only the stem buried.
Great! We now have have a potted leaf, ready to create new plantlets for us.
Humidity is Key
At this point we need to construct an environment that is conducive to the growth of our new plantlets. To do this, we will take a plastic bag and cover our newly potted leaf. We do this to keep the growing atmosphere at high humidity, while also allowing for maximum light to pass through to the leaf. When covering the leaf, make sure the bag isn’t touching the leaf when you’re done. If you need to use something to prop the bag up, that’s fine. If you plan to propagate a several of plants or just don't feel like bothering with the plastic bag approach, our grow dome can be a perfect alternative.
That wasn't too bad!
That’s it! Now we wait until plantlets form and grow. A plantlet should be visible anywhere from a couple of weeks to a few months. Once the plantlets are strong enough (4-6 months), we will separate them and transplant them. So, in four to six months, come back and read our guide for separating and transplanting your plantlets.